前期准备

在开始之前,你得先做如下准备:

  • opencv
    这个一般没啥问题,通过pip install opencv-python安装即可。
  • dlib
    安装dlib之前需要安装好cmake,之后再通过pip install dlib安装,如果报错的话,再自行百度吧,我是折腾了一下午才弄好。
  • 下载dlib提供的检测模型文件
    下载地址:http://dlib.net/files/
    文件名shape_predictor_68_face_landmarks.dat

人脸检测

单一图片

代码部分实现起来非常简单,不过十几行的事,不过需要注意的是,通过cv2.imread读取的图片是BRG通道的,需要转成RGB通道,不然通过pyplot显示图片会变色。

1
2
3
4
5
6
7
8
9
10
11
12
13
14
15
16
17
18
19
20
21
22
23
24
25
26
27
28
29
30
31
32
33
34
35
#!/usr/bin/env python2
#-*- coding:utf-8 -*-

import cv2
import dlib
import matplotlib.pyplot as plt
import numpy as np

predictor_path = 'shape_predictor_68_face_landmarks.dat'
test_img = 'timg.jpeg'
img = cv2.imread(test_img)
detector = dlib.get_frontal_face_detector()
predictor = dlib.shape_predictor(predictor_path)

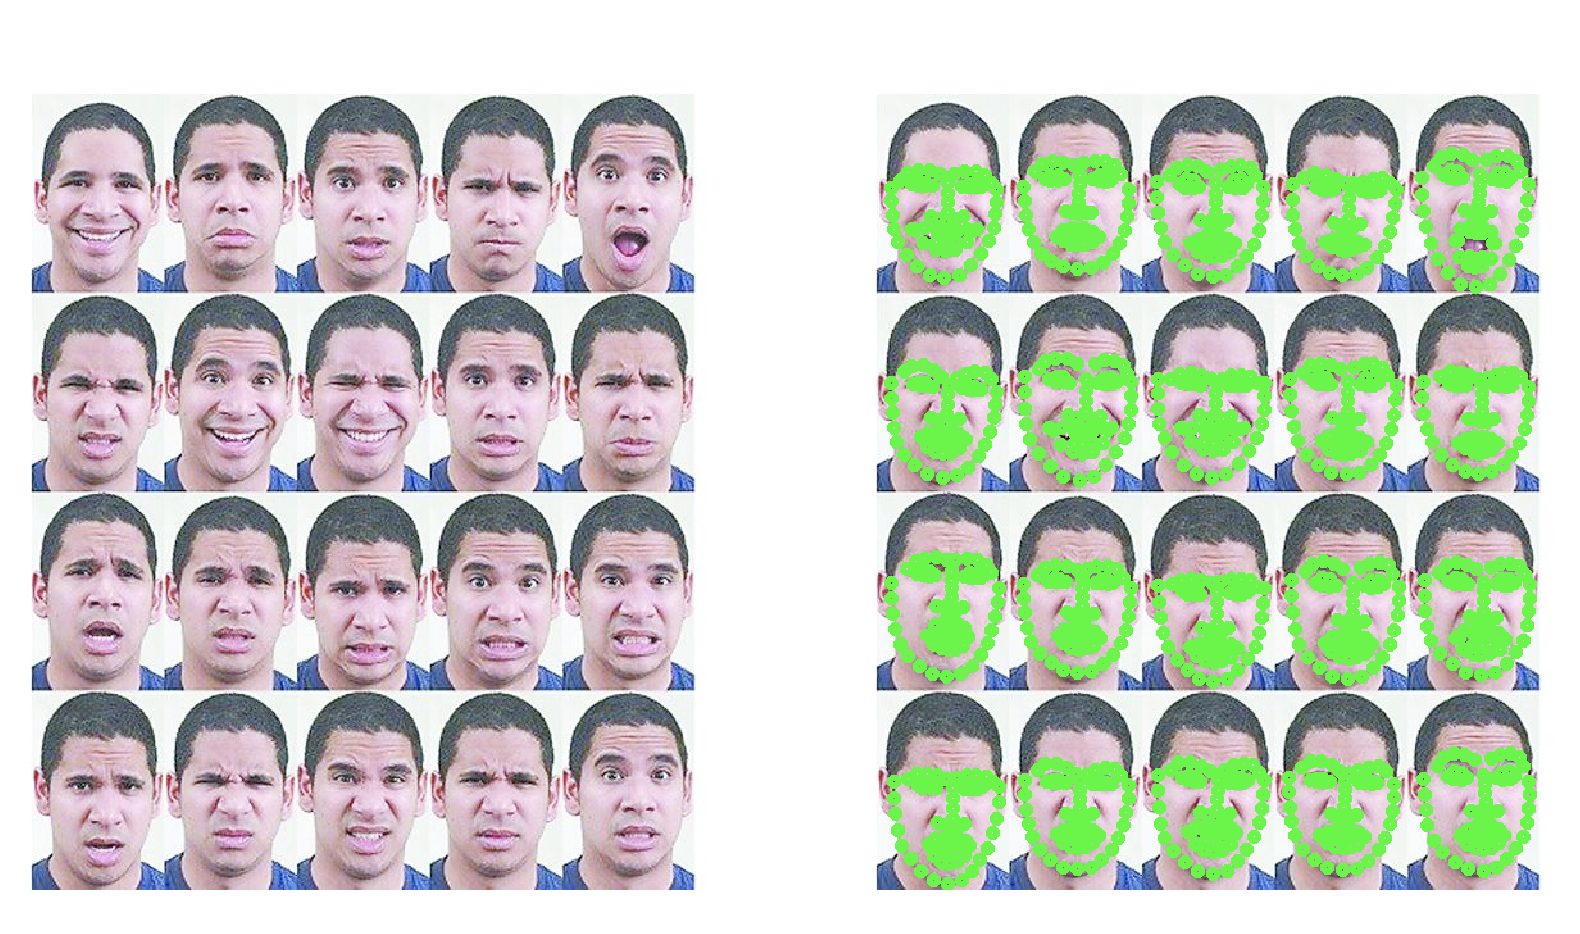
faces = detector(img, 0)
if len(faces):
print '==> Found %d face in this image.' % len(faces)
for i in range(len(faces)):
landmarks = np.matrix([[p.x, p.y] for p in predictor(img, faces[i]).parts()])
for point in landmarks:
pos = (point[0, 0], point[0, 1])
cv2.circle(img, pos, 3, color=(0, 255, 0),thickness=3)
else:
print 'Face not found!'

# opencv读取图片是BRG通道的,需要专成RGB
img = cv2.cvtColor(img, cv2.COLOR_BGR2RGB)
plt.figure(figsize=(10, 8))
plt.subplot(121)
plt.imshow(plt.imread(test_img))
plt.axis('off')
plt.subplot(122)
plt.imshow(img)
plt.axis('off')
plt.show()

image-20200721195329307

摄像头读取

我们可以通过cv2.VideoCapture(0)调起摄像头,camera.read会返回两个参数,第一个代表是否获取到图像帧,第二个代表图像帧内容,剩下的部分就跟上面一样了,传给dlib进行人脸检测就好了。

1
2
3
4
5
6
7
8
9
10
11
12
13
14
15
16
17
18
19
20
21
22
23
24
25
26
27
28
29
30
31
32
33
34
35
36
37
38
39
40
41
42
43
44
45
46
47
48
49
50
51
52
53
54
55
56
57
58
59
60
61
62
63
64
65
66
67
68
69
70
71
72
73
74
75
76
77
# -*- coding: utf-8 -*-

# @author: Awesome_Tang
# @date: 2018-12-31
# @version: python2.7

import cv2
import dlib
import numpy as np
import os


class Config(object):
predictor_path = 'shape_predictor_68_face_landmarks.dat'
test_img = 'test.jpg'
width = 640
height = 480


class FaceDetective():

def __init__(self):
self.detector = dlib.get_frontal_face_detector()
self.predictor = dlib.shape_predictor(Config.predictor_path)

def check_file(self,path):
if os.path.exists(path):
img = cv2.imread(path)
return img
else:
raise IOError('No such file : "%s", please check!' % path)

def detective(self, frame):
faces = self.detector(frame, 0)
if len(faces):
print '==> Found %d face in this frame.' % len(faces)
for i in range(len(faces)):
landmarks = np.matrix([[p.x, p.y] for p in self.predictor(frame, faces[i]).parts()])
for point in landmarks:
pos = (point[0, 0], point[0, 1])
cv2.circle(frame, pos, 3, color=(0, 0, 255),thickness=3)
else:
print 'Face not found!'
return frame

def run_camera(self):
camera = cv2.VideoCapture(0)
camera.set(cv2.CAP_PROP_FRAME_WIDTH, Config.width)
camera.set(cv2.CAP_PROP_FRAME_HEIGHT, Config.height)
while True:
detected, frame = camera.read()

if detected:
frame = cv2.flip(frame, 1)
frame = self.detective(frame)
cv2.imshow("AwesomeTang", frame)

if cv2.waitKey(1) & 0xFF == ord('q'):
break

camera.release()
cv2.destroyAllWindows()

def single_image(self,img_path):
img = self.check_file(img_path)
img = self.detective(img)
cv2.namedWindow("AwesomeTang", 0)
cv2.resizeWindow("AwesomeTang", Config.width, Config.height)
cv2.imshow("AwesomeTang",img)
cv2.waitKey(0)
cv2.destroyAllWindows()


if __name__ == '__main__':
p = FaceDetective()
#p.single_image(Config.test_img)
p.run_camera()

错误

运行时可能提示错误

qt.qpa.plugin: Could not find the Qt platform plugin “cocoa” in “”
This application failed to start because no Qt platform plugin could be initialized. Reinstalling the application may fix this problem.

解决办法

1
pip install opencv-python-headless

应该是版本的问题,最新版的opencv可能少了这个。
也可以安装其他老版的opencv来解决

pip install opencv-python==4.0.0.21

原文

https://www.jianshu.com/p/f239a87c0475

参考文章 人脸识别之Python DLib库进行人脸关键点识别